
The crisp and refreshing glow of a bathroom mirror cabinet can enhance the functionality and aesthetics of your bathroom.
A bathroom simply isn’t complete without one because a mirror will reflect light and make the space seem larger.
This guide will provide detailed instructions and tips on how to install a bathroom mirror cabinet successfully.
- Step 1: Before Installation
- Step 2: Measure and Mark
- Step 3: Drill Holes
- Step 4: Install the Cabinet Fittings
- Step 5: Attach the Mirror Cabinet
Navigate to any section of this post by clicking on the links above.
Step 1: Before Installation
Gather Tools and Materials
Planning ahead will prevent needless interruptions, errors, and delays that can compromise the quality of installation.
So, gather the following necessary tools and materials before installation:
- Tape measure
- Spirit level
- Electric drill
- Pencil or marker
- Screwdriver
- Hammer
- Open-end wrench
- Mounting bracket
- Mirror fixings (i.e., wall plugs, washers, nails, and screws)
- Wall anchors (if needed)
Choose the Right Location
Most people install their bathroom mirror cabinet above the sink, as it enables them to see themselves brushing their teeth, washing their face, applying makeup, or grooming their hair.
The main consideration for the optimal height and location for the cabinet above the sink is the height of the person/s using the mirror.
The centre of the mirror should be roughly at the eye level. This height would be ideally between 160 and 170 centimetres.
If there’s a huge difference in the heights of the people using the mirror, it’s best to work out a suitable compromise. (Young children can always use a stool.)
Leave a gap of 25 to 35 centimetres between the top of the washbasin and the bottom of the mirror cabinet. This gap will enable easy operation of the basin taps and also prevent stray water droplets from splashing onto the mirror.
Step 2: Measure and Mark
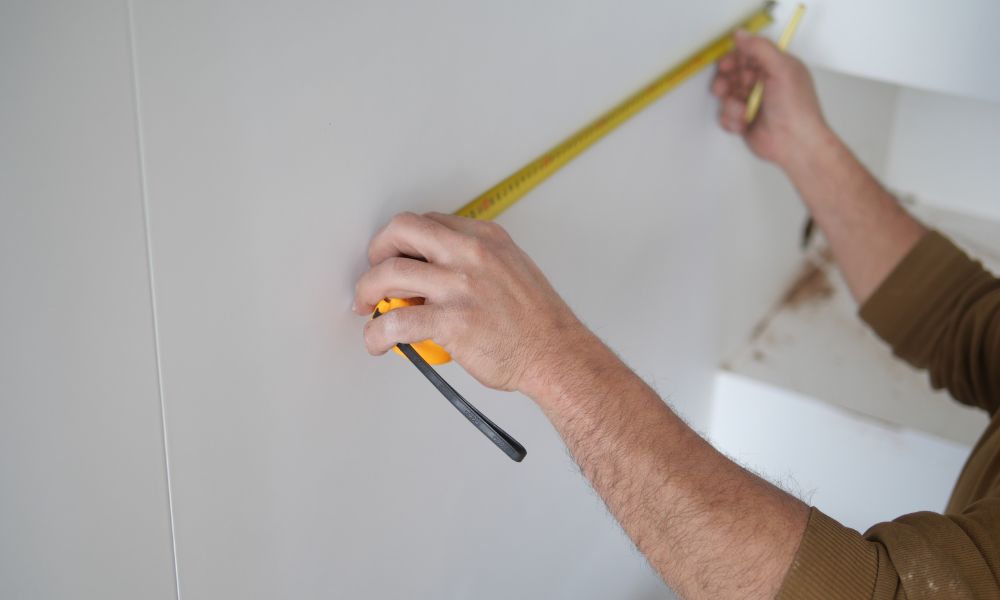
Find the Centre Point
Using a tape measure, find the centre point of the sink. Mark this point with a pencil/marker.
Measure Width and Height
Measure the width of the sink and the dimensions of the cabinet.
Mark the desired height of the cabinet installation. (Note: The bottom of the cabinet should be 25 cm to 35 cm from the top of the sink.)
Mark the Wall
The eye level is important for optimal placement.
With the centre point of the mirror in mind, mark the top of the mirror on the wall and any additional reference points.
Step 3: Drill Holes
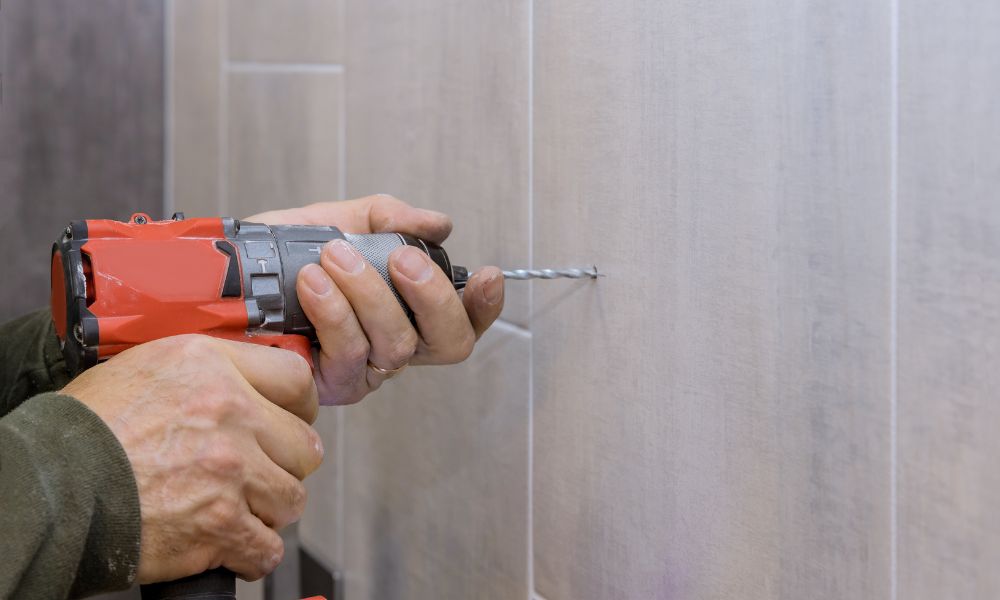
Choose the Right Drill Bit
The rule of thumb is the diameter of the drill bit should correspond to the size of the wall plug, not the size of the screw. The size is specified on the packaging.
So, you’ll need an 8mm drill bit if you’re using an 8mm wall plug.
A special glass and tile drill bit with a ground tungsten carbide tip is ideal for drilling holes in soft tiles.
Brad-point bits, twist bits, and spade bits are the best bits for drilling holes in drywall.
Any standard masonry drill bit will work if your bathroom wall is made of light concrete. However, cheap masonry drill bits made of low-carbon steel are less efficient.
Drill bits with tungsten carbide tips are suitable to drill into hard concrete and natural stone. These tips will easily penetrate hard surfaces.You can also use masonry bits such as SDS Plus and SDS Max for drilling into hard walls made of brick and concrete with ease.
Drill into the Wall
Choose the type of drill bit based on the wall surface.
If you are drilling on a tile, paste a paper tape on the point you have marked before you drill. This will prevent the drill bit from slipping and ensure accuracy.
As a safety measure, each time you change the drill bit, switch off the power supply. After you finish drilling the holes, disconnect the drilling machine.
Step 4: Install the Cabinet Fittings
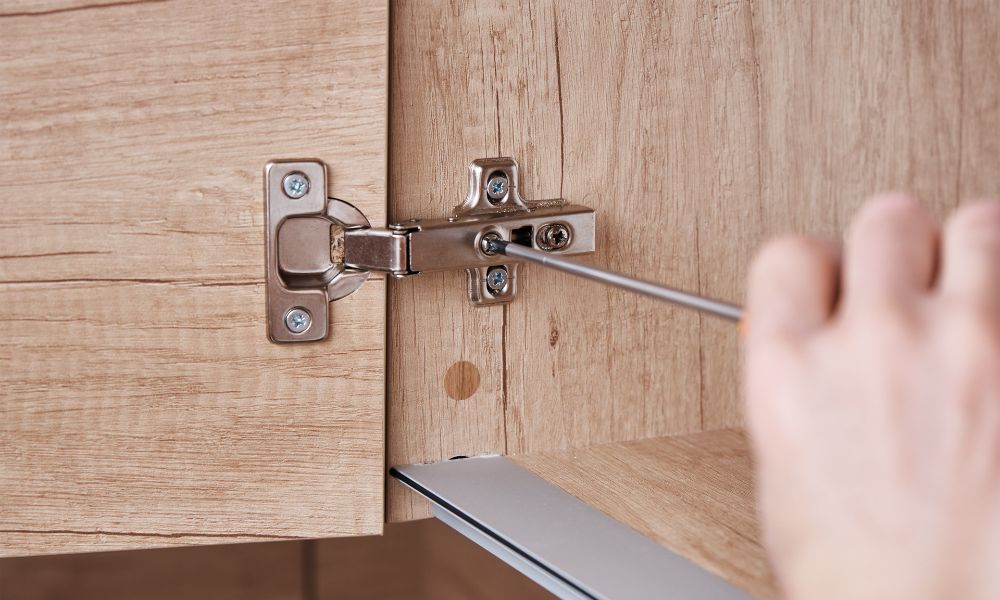
Different cabinets may come with different types of fittings, such as mounting brackets, anchor hooks, or just screws.
Types of Fittings
A mounting bracket will support the weight of the cabinet. If the mirror cabinet is heavy, you may need to install multiple brackets to ensure more stability.
Anchor hooks are threaded hook bolts manufactured for extra strength. The hooks stay firmly locked even when heavy loads are applied.
Screws can be used to install lighter mirror cabinets. The unit can be screwed directly onto the wall without any reinforcement.
Install the Fittings
Install the mounting bracket by holding it against the wall. Align the bracket with the marked points. Check if the holes in the bracket are level with the holes you have drilled in the wall.
Insert screws in the bracket and tighten them securely. Double-check the stability of the bracket.
To install an anchor hook, place the wedge end of the anchor hook into the pre-drilled hole. Tap it lightly with a hammer until it is flush with the wall surface.
Step 5: Attach the Mirror Cabinet
Mounting Bracket
Have someone assist you in fixing the cabinet to the bracket. Hold the cabinet steady and secure it to the wall. Double-check if it is level.
Anchor Hooks
Align the hole in the attachment on the mirror cabinet with the wedge end of the anchor hook on the wall. Insert the washer and nut into the threaded end of the wedge anchor.
Using an open-end wrench, tighten the nut by turning it clockwise. Continue turning until it is tight against the washer. The wedge will expand, holding the anchor firmly in place. Take care not to overtighten the nut.
Tips for Checking and Ensuring the Cabinet Is Level and Securely Fastened
- Before you tighten the screws, use a spirit level to ensure the cabinet is perfectly straight.
- After the cabinet is mounted, perform a final check and make adjustments if needed.
- Check the stability of the cabinet and ensure it does not wobble. Tighten any screws that are loose.
Note: If the mirror cabinet includes lighting or electrical components (e.g., LED lighting), drill two holes for the wires through the back of the cabinet – one for the LED lighting and one for the power socket. This will enable you to make safe electrical connections.
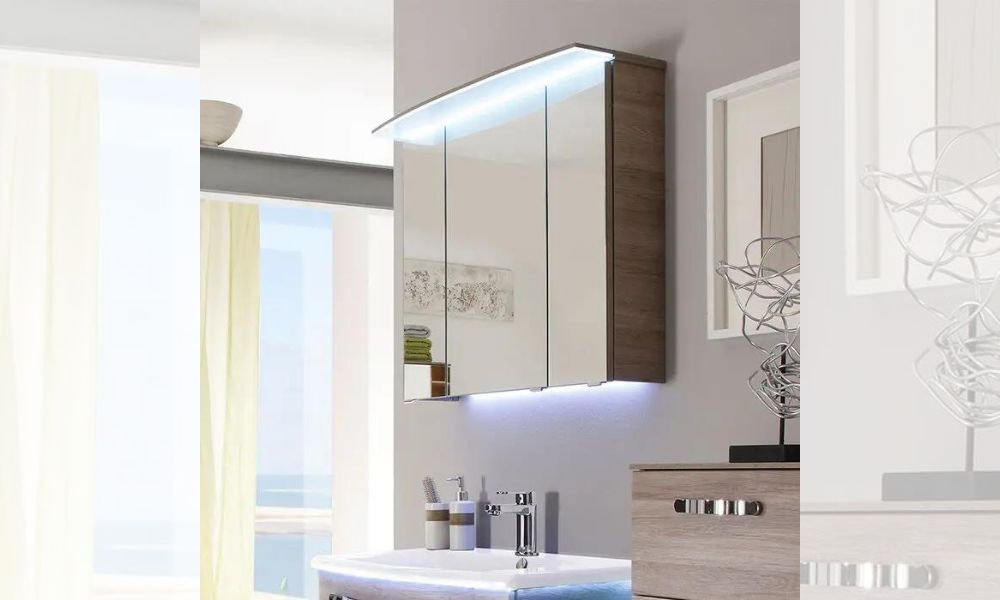
Shop Mirrored Bathroom Cabinets
Illuminate your bathroom with Bathroom City’s collection of mirrored bathroom cabinets. Our sleek cabinet styles and sizes fit any preference and include single, double, triple, or even quadruple doors, plain or illuminated.
Other related articles you might also like to read: